
How to Restore Documents?
Documents on your device are automatically saved by default. If you change or reset your device, or accidentally delete a file, there are several ways to restore your documents—some of which are available even without a subscription, depending on your situation.
🔸Restore from the Trashcan
Best for recently deleted documents or folders (within 7 days by default).
-
Go to Settings > Trashcan.

- Select the document(s) or folder(s) to restore.
-
Tap "Restore" at the bottom right.


📝 Restore behavior:
- Documents only → Choose a folder to restore into.
-
Folders only → Restored to the main screen.
Trash Retention Settings
Deleted items are kept for 7 days by default.
To change the retention period, go to Trashcan > Settings and choose from:
- Immediate, 1 day, 7 days (default) – available to all users
- 14 days, 30 days, 60 days, or Never – available with a Bronze / Silver / Gold upgrade

🔸Restore with an iCloud Backup
Best for restoring your entire device and DocScan data in one go.
-
Back up your old iPhone and restore it on the new device.
-
Restore from an iCloud or iTunes backup.
-
During setup, make sure to select “Restore from iCloud Backup”.
⚠️ Do not select “Set up as a New iPhone”. See step 5 of the tutorial
Important Notes:
- iOS restoration has two phases:
- System restore + app re-download
- App data restore from iCloud/iTunes
- Large amounts of scan data may take longer. You may see the app before all data is restored — avoid opening it too soon to prevent missing files.
🔸Restore from Cloud Backup
Requires a Silver or above subscription and previously created backups.
-
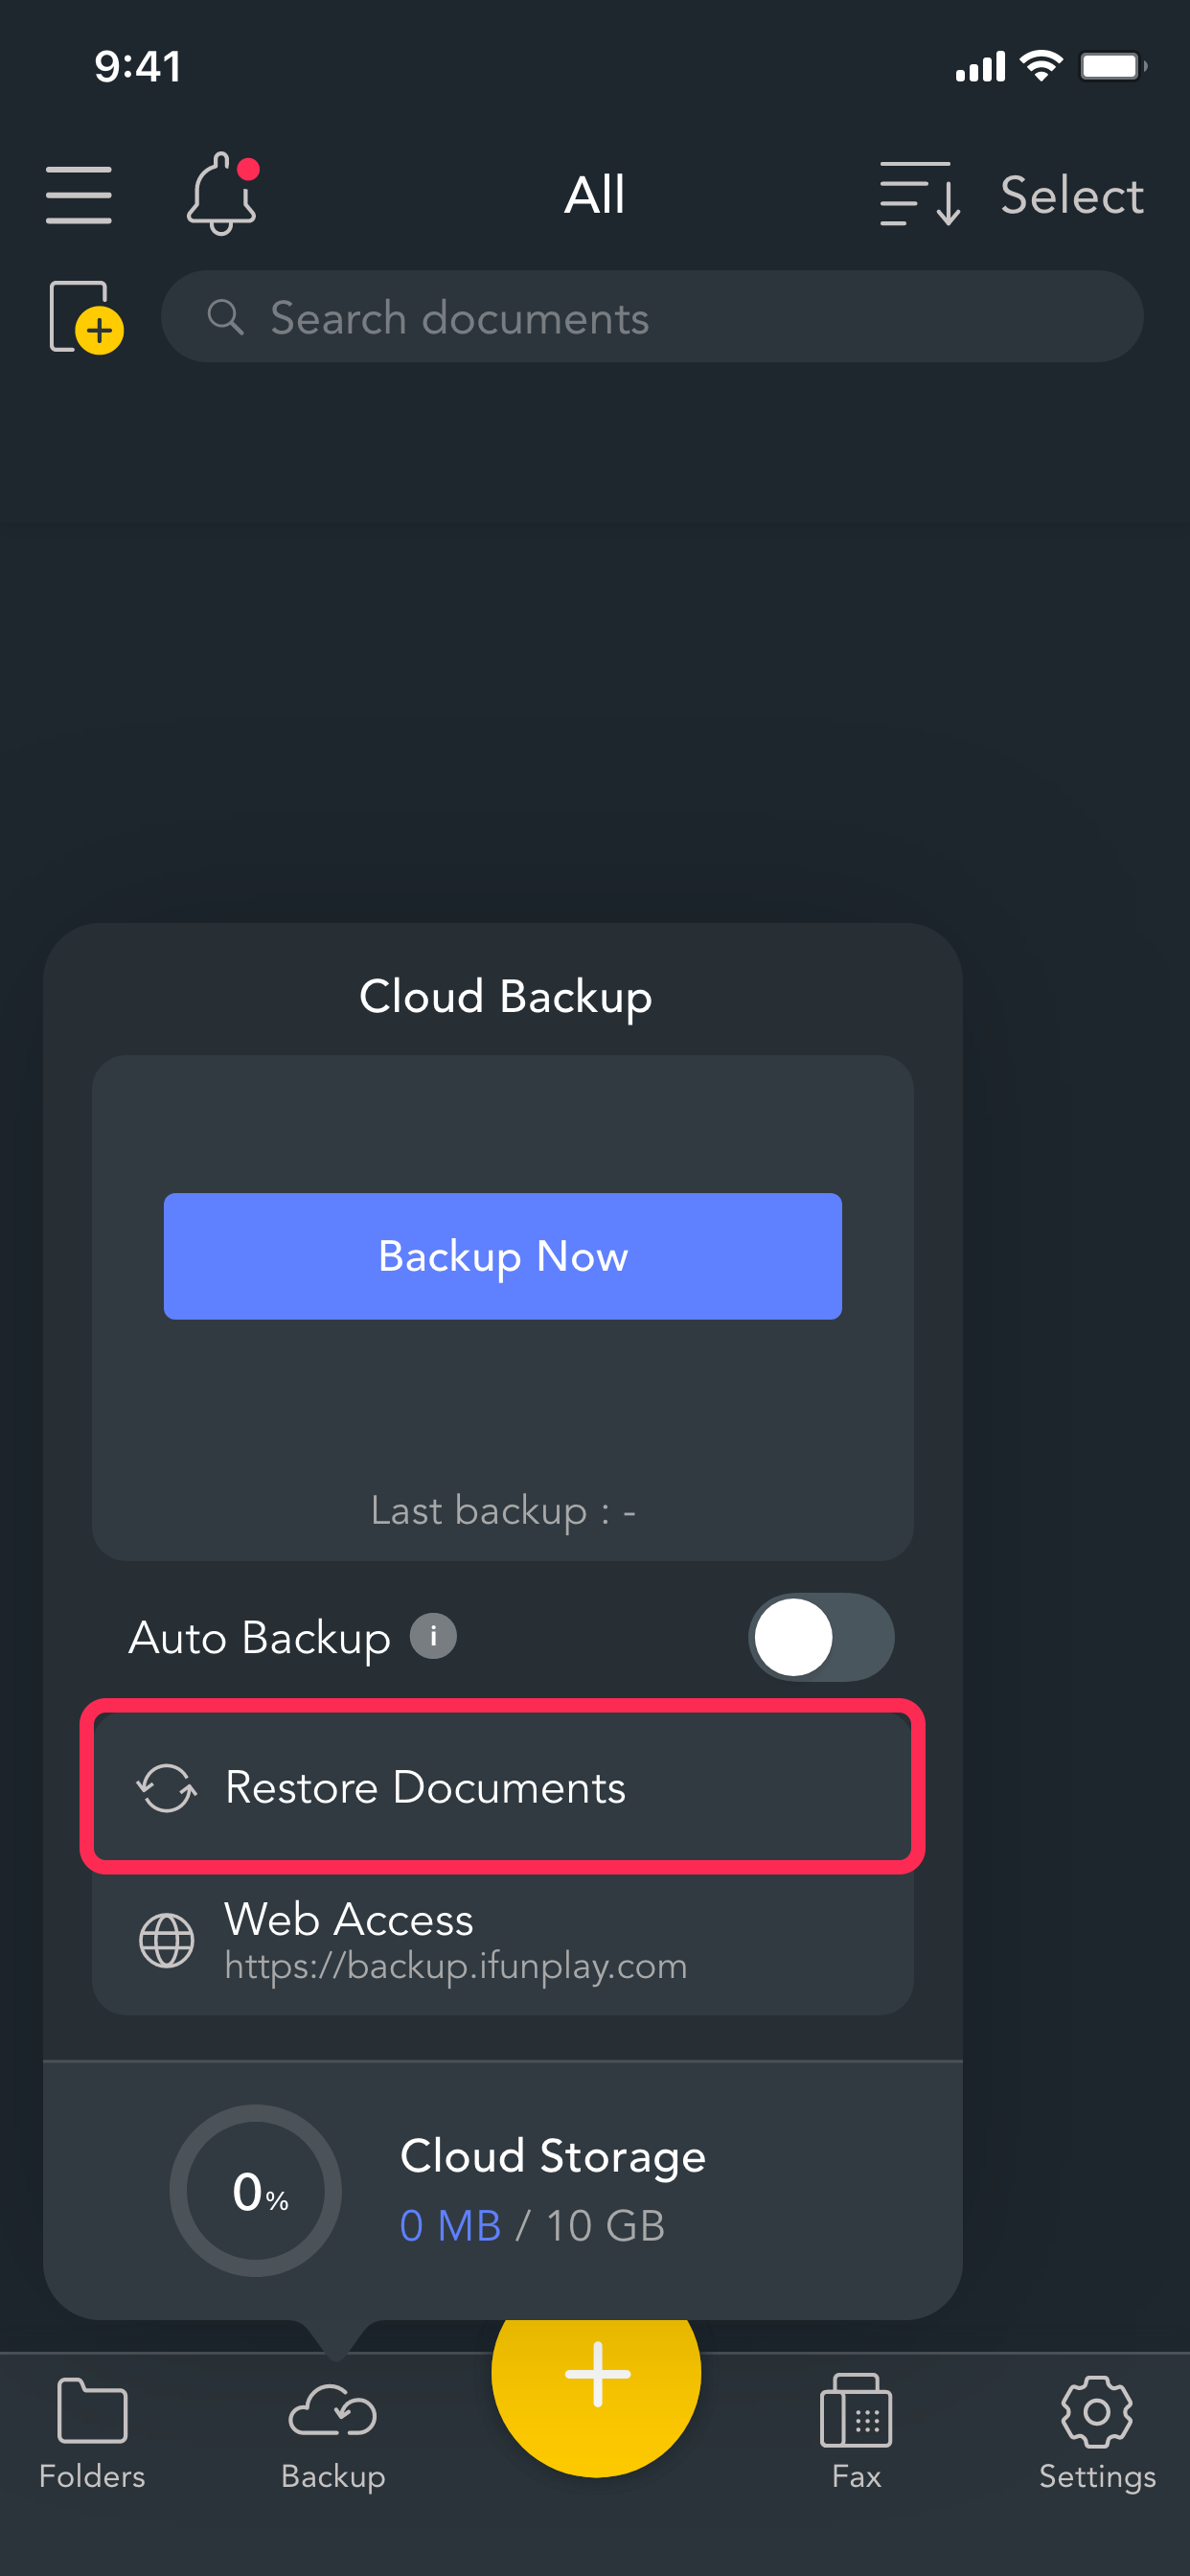
Tap "Backup" on the bottom left of the main screen.

-
Tap "Restore Documents", or go to Settings > Restore from Cloud Backup.
-
Select a backup version.

-
Choose whether to restore specific files or all files.

-
A progress icon will show the restore status.
It may take several minutes for large scan volumes.


